How to Design a Photography Website That Books Clients
Learn photography website design step by step. Build a fast, SEO-friendly portfolio site that turns visitors into booked clients.
Key Takeaways
-
Keep your portfolio tight at 20 to 30 of your best images per gallery, grouped by category, since showing too many weak shots can drag down your strongest work.
-
Optimize every image for speed by resizing to about 2000 pixels wide, compressing files, using WebP format, and enabling lazy loading, aiming for page loads under three seconds.
-
Define your niche and ideal client first, then design the site for that one person so every layout, color, and font choice speaks directly to them.
-
Add clear calls to action on every page, such as 'Check Availability' on the homepage and a short contact form with just name, email, date, and message.
-
Set up local SEO from day one with descriptive alt text, renamed image files, location pages, and a claimed Google Business Profile, since photography is a local business.
-
Build trust with an About page that shares your personal story and a photo of yourself, plus testimonials and Google reviews placed on your homepage and service pages.
You have a gift for capturing moments. Your portfolio is full of stunning shots. But here’s the tricky part: if your website doesn’t show off that talent the right way, potential clients may never see it. We’ve seen it happen a lot. A gorgeous photographer with a clunky, slow, hard-to-find website loses bookings to someone with half the skill but a smarter online presence.
Good news! Photography website design is something you can get right, and this guide will walk you through it step by step. We’ll cover layout, speed, SEO, and the little details that turn browsers into paying clients. Whether you’re a wedding photographer, a portrait pro, or a commercial studio, these steps will help you build a site that works as hard as you do.
At Brain Buzz Marketing, we’ve been helping businesses grow online since 1998. We know what makes a site look great and actually bring in leads. Let’s dive in!
Why Photography Website Design Is Different
Most websites are built around text. A photography website is built around images. That changes everything.
Big image files can slow your site to a crawl. Fancy galleries can hide your best work. And if visitors can’t find your contact page in a few seconds, they’ll click away and hire someone else.
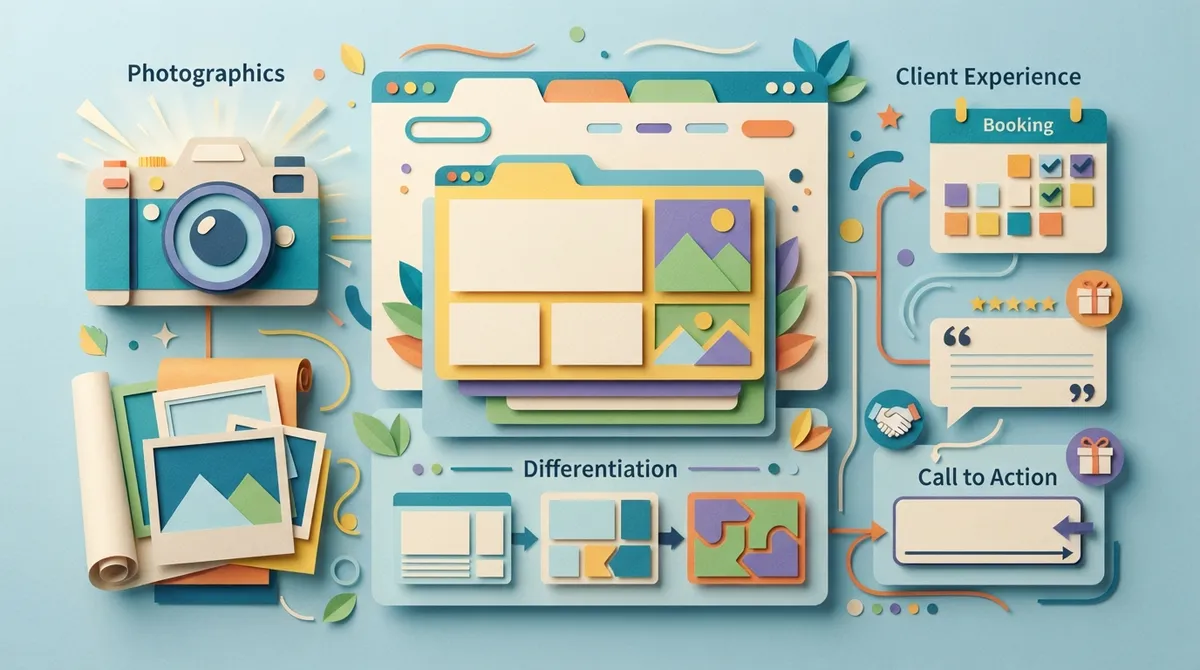
Strong photography website design balances beauty with function. Your site needs to look amazing, load fast, rank in search results, and make it easy to say “yes, I want to hire you.”
What Clients Want to See
Think about what your ideal client is doing when they land on your site. They’re usually asking three questions:
- Is this photographer’s style what I’m looking for?
- Can I trust this person with my important day or project?
- How do I book, and what will it cost?
Your website should answer all three, fast. Keep that in mind as we go through each step.
Step-by-Step: How to Build Your Photography Website
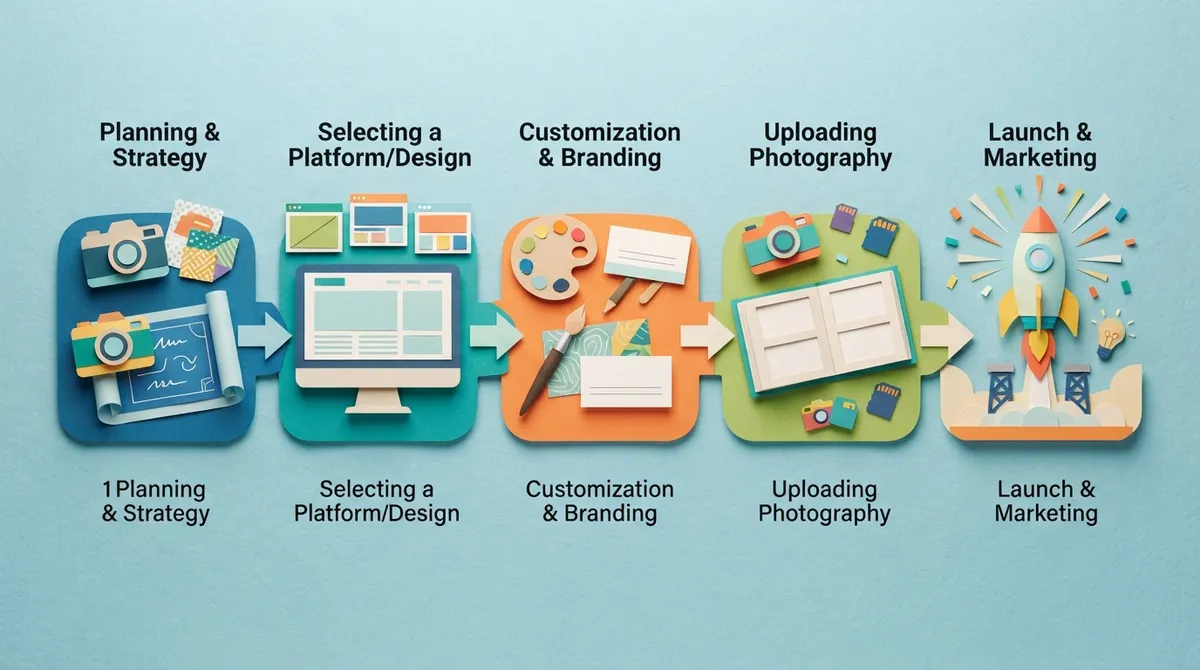
Here’s the process we recommend. Follow these steps in order, and you’ll avoid the most common mistakes.
- Define your niche and ideal client. Decide who you want to attract before you design anything.
- Choose a clean, simple layout. Let your photos be the star.
- Curate a tight portfolio. Show your best 20 to 30 images, not 300.
- Optimize every image for speed. Compress files without losing quality.
- Make it mobile-friendly. Most visitors will view your site on a phone.
- Add clear calls to action. Tell visitors exactly what to do next.
- Set up SEO from day one. Help local clients find you on Google.
- Build trust with reviews and an About page. Let clients know the real you.

Step 1: Define Your Niche and Ideal Client
A site that tries to speak to everyone usually speaks to no one. Pick your lane first. Are you a newborn photographer? A real estate photographer? An event specialist?
Once you know your niche, every design choice gets easier. A wedding photographer might choose soft, romantic colors and big full-screen images. A commercial photographer might want a sleek, bold, professional look.
Write down your ideal client in a few sentences. Include their age, location, budget, and what they care about. Then design your site for that one person.

Step 2: Choose a Clean, Simple Layout
Your photos should do the talking. That means your design should stay out of the way.
Design Tips That Let Photos Shine
- Use lots of white space. Breathing room makes images feel more premium.
- Stick to a simple color palette. Neutral backgrounds (white, black, or soft gray) keep attention on your work.
- Choose readable fonts. Pick one or two fonts and use them everywhere.
- Keep navigation simple. Five to six menu items is plenty.
A good menu for most photographers looks like this: Home, Portfolio, About, Services or Pricing, Blog, and Contact. That’s it. Don’t make visitors hunt.
If you want a site built from scratch around your brand, our custom website design service is made for exactly this kind of project.
Step 3: Curate a Tight Portfolio
Here’s a hard truth: more photos does not mean a better portfolio. Showing too much can actually hurt you. Visitors get overwhelmed, and one weak image can drag down ten great ones.
Aim for 20 to 30 of your very best images per gallery. Group them by category, like weddings, portraits, or commercial work, so people can quickly find what they want.
Portfolio Layout Options Compared
| Layout Style | Best For | Pros | Cons |
|---|---|---|---|
| Grid Gallery | Wide variety of work | Easy to scan, familiar to users | Can feel generic |
| Full-Screen Slideshow | Wedding and fine art | Dramatic, emotional impact | Can load slowly if not optimized |
| Masonry Layout | Mixed orientations | Looks modern, fits all image shapes | Can feel busy |
| Story-Based Galleries | Weddings and events | Shows full narrative of a shoot | Takes more space and time to build |
No matter which layout you pick, make sure each image opens quickly and looks sharp on every screen size.
Step 4: Optimize Every Image for Speed
This is where many photography websites fall apart. Beautiful, high-resolution files are heavy. A slow site frustrates visitors and also hurts your Google rankings.
The goal is simple: keep images looking great while keeping file sizes small. Here’s how to do it.
Quick Speed Wins
- Resize before uploading. You rarely need an image wider than 2000 pixels for web use.
- Compress your files. Free tools can shrink images by 60 to 80 percent with little visible change.
- Use modern formats. WebP files are smaller than JPEGs at the same quality.
- Turn on lazy loading. Images below the fold load only when a visitor scrolls to them.
- Choose quality hosting. Cheap hosting can slow down even a well-built site.
Aim for a page load time under three seconds. If your portfolio takes longer, you’re likely losing leads before they ever see your work.
Step 5: Make It Mobile-Friendly
Think about how people find photographers today. They’re scrolling on their phones, often late at night, looking at ideas for a wedding or family session. If your site looks broken on a small screen, you’re out.
Test your site on a phone and a tablet. Check that images resize properly, text is easy to read, buttons are big enough to tap, and the menu works smoothly.
A responsive design adjusts automatically to any screen. This is a must-have for modern photography website design, and Google also favors mobile-friendly sites in search results.
Step 6: Add Clear Calls to Action
You can have the prettiest site in town, but if visitors don’t know what to do next, they won’t do anything. Every page should guide people toward booking you.
Where to Place Your Calls to Action
- At the top of your homepage with a button like “Check Availability”
- At the end of every gallery with “Love this? Let’s talk”
- On your pricing or services page with “Request a Quote”
- In your site footer so it’s always within reach
Keep your contact form short. Ask for name, email, date or project type, and a short message. The more fields you add, the fewer people will fill it out.
Also consider adding a clear starting price or package range. Clients love knowing if you fit their budget before they reach out. Our website pricing page shows how we think about transparent packages for our own clients.
Step 7: Set Up SEO From Day One
Here’s where many photographers miss out. Search engine optimization (SEO) helps people find you when they search for things like “wedding photographer near me.” Without it, your gorgeous site might sit unseen.
Photography is a very local business, so local search matters most. Our guide on how local SEO drives more customers in 2026 explains why this is so powerful.
Photography SEO Checklist
- Add descriptive alt text to every image. Write what’s in the photo and include your location when it fits naturally, such as “bride and groom at Tampa waterfront ceremony.”
- Rename image files. Use “tampa-wedding-photographer-sunset.jpg” instead of “IMG_4821.jpg.”
- Write unique page titles and meta descriptions. Include your service and city.
- Create location pages. If you serve several cities, give each one its own page.
- Claim your Google Business Profile. This helps you show up in the map results.
- Start a blog. Share real sessions, venue guides, and tips to build search visibility.
Since photo-heavy sites have less written text, you need to add words where you can. Short intro paragraphs on gallery pages, detailed service descriptions, and helpful blog posts all give search engines more to understand. Our SEO team can help you set all of this up the right way.
Don’t Forget Local and AI Search
People are also finding photographers through AI tools and voice assistants now. Writing clear, helpful answers on your pages makes it easier for these tools to recommend you. We break this down in our post on what AEO is and why your business needs it.
Step 8: Build Trust With Reviews and an About Page
Photography is personal. Clients are inviting you into some of the biggest moments of their lives. They need to trust you before they ever book.
Your About Page Matters More Than You Think
Your About page is often one of the most visited pages on a photographer’s site. Don’t just list your gear and years of experience. Share your story, your style, and why you love this work. Add a friendly photo of yourself so clients feel like they already know you.
Show Social Proof
- Place client testimonials on your homepage and service pages
- Link to your Google reviews
- Show logos of publications or venues that have featured you
- Include real client stories with photos from their sessions (with permission)
Reviews are gold. They boost trust and also help your local rankings. You can see how we showcase client feedback on our own testimonials page, and you can read what our customers say when you visit us on Google — Brain Buzz Marketing.
Common Photography Website Design Mistakes to Avoid
Even talented photographers trip over these. Check your own site against this list.
- Auto-playing music. It startles visitors and makes them leave.
- Right-click disabled pop-ups. They annoy people and do little to stop image theft. Use watermarks or smaller web files instead.
- Too many portfolio images. Quality beats quantity every time.
- Hidden contact information. Make it easy to reach you.
- Outdated work. Refresh your portfolio at least once or twice a year.
- Flash or heavy animations. They slow your site and can break on many devices.
If your current site has several of these problems, it may be time for a fresh start. Our guide on 7 signs it’s time for a website redesign can help you decide.
DIY Builder or Custom Design?
Many photographers start with a drag-and-drop builder. These can work well when you’re just getting started. But as your business grows, you may hit limits on speed, SEO control, and unique branding.
| Factor | DIY Website Builder | Custom Website Design |
|---|---|---|
| Upfront Cost | Low | Moderate |
| Design Flexibility | Limited to templates | Fully tailored to your brand |
| Page Speed Control | Often limited | Fully optimized |
| SEO Control | Basic settings | Advanced, built in from the start |
| Time Investment | High, you do the work | Low, a team handles it |
We broke this down further in DIY website builders vs. custom design. If you’ve already started a site on your own and just need it polished, we can help with that too.
Putting It All Together
Great photography website design isn’t about flashy tricks. It’s about showing your best work, loading fast, being easy to navigate, and making it simple for clients to reach you. Start with your niche, keep your layout clean, curate your portfolio, optimize your images, and build SEO in from day one.
Do those things well, and your website becomes your hardest-working team member. It books clients while you’re out shooting, editing, or even sleeping.
Ready to build a photography website that truly reflects your talent and brings in new clients? Our team works 100% virtual, so collaboration is easy no matter where you are. Contact us today to talk through your goals, and let’s create something you’ll be proud to share. You can also follow our latest tips on Instagram or connect with Eric on LinkedIn.
FAQs
Q: What makes a good photography website design?
A: A good photography website shows your best work in a clean layout, loads in under three seconds, and works great on phones. It also makes it easy for visitors to see your style, trust you, and contact you to book.
Q: How many photos should I show in my portfolio?
A: Aim for 20 to 30 of your strongest images per gallery. Showing too many can overwhelm visitors, and one weaker photo can hurt the impression of your best work. Fewer, better images win every time.
Q: Does my photography website need SEO?
A: Yes! SEO helps local clients find you when they search for photographers in your area. Simple steps like alt text, good file names, location pages, and a Google Business Profile can make a big difference in your visibility.
Q: How much does a photography website cost?
A: Costs vary based on size and features. At Brain Buzz Marketing, our Starter Website Package begins at $800 for up to 5 pages, and our Growth Package at $1,500 includes 10 pages and a blog. You can also use our website price estimator for an exact quote.
Q: Should I use a template or a custom design?
A: Templates are a fine starting point when you’re new. But a custom design gives you better speed, stronger SEO control, and a look that’s truly yours, which helps you stand out as your photography business grows.
Our Service Area